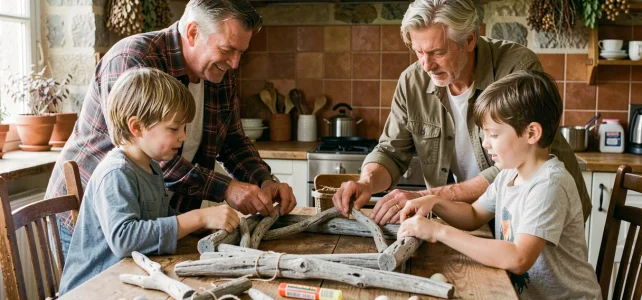
The driftwood frame is not just about gluing twigs onto a commercial support. When done well, it involves assembly techniques, a choice of adhesives suitable for the porous material, and consideration of finishes that make it a true family DIY project. Here, we detail the technical points that make the difference between a fragile frame and a durable object.
Layered Assembly: The Technique That Lasts
Most tutorials recommend gluing driftwood pieces directly onto a raw wood frame. This approach poses a structural problem: driftwood, soaked in salt and then dried, has a smooth and often slightly greasy surface that reduces the adhesion of standard glues.
We recommend sanding each contact point with 80-grit sandpaper before gluing. This simple action, achievable by a child under supervision, creates a micro-roughness that increases the bonding surface. Using finer sandpaper (120 or above) would be counterproductive here.
For adhesive selection, the hot glue gun remains the most accessible for families, but its shear strength is limited. On the load-bearing pieces (the four main branches of the frame), a one-component polyurethane glue offers significantly superior hold. It expands slightly as it dries and fills the irregularities of the driftwood, compensating for the rarely flat contact surfaces.
The ideal solution is to combine both: hot glue for immediate positioning (children do not have the patience to wait for a set time of several hours), followed by a dot of PU glue at the structural joints, applied by the adult at the end of the session.
If you want to make a driftwood frame with young children, this two-step method allows you to balance their impatience with the sturdiness of the final result.
Driftwood Frame and Photo Format: Adapting Proportions
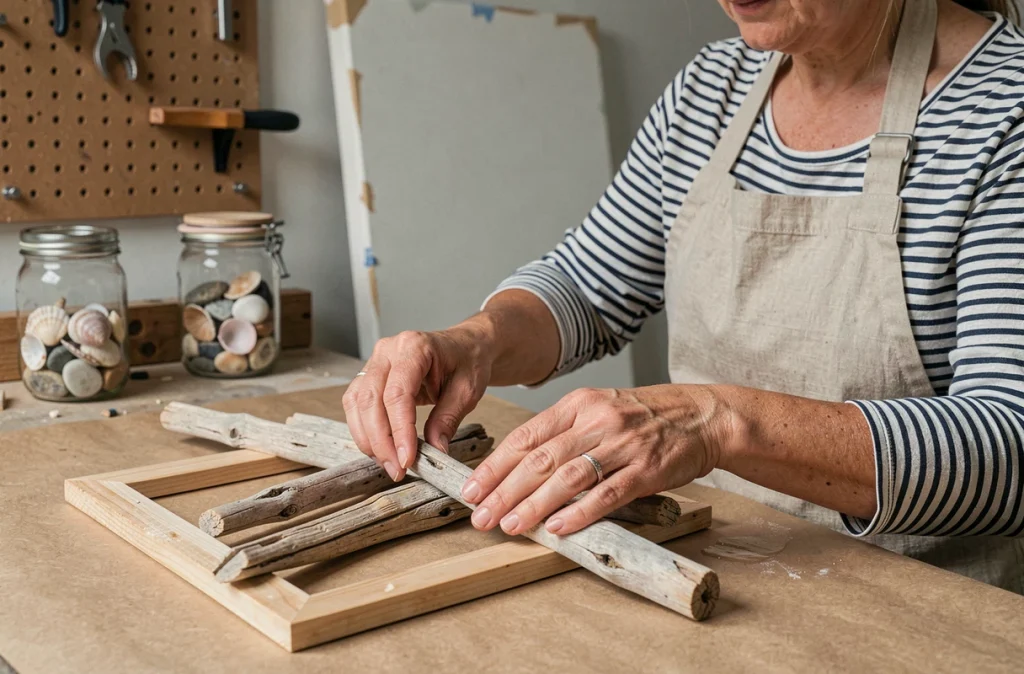
A decorative wall frame does not have the same constraints as a frame intended to hold a print. When planning to slide in a photo, the sizing of the back support (plywood, wood cardboard, or MDF) must include an inner lip of at least eight millimeters to hold the print without it slipping.
Standard sizes (10×15, 13×18, 20×30) dictate the inner dimensions. In practice, we find that the 13×18 format offers the best compromise for a family driftwood frame: large enough to showcase a vacation memory, yet compact enough that the branches collected on a single outing are sufficient to cover the perimeter.
Securing the Back Without Damaging Aesthetics
Two options work well in a family workshop:
- Metal turnbuckles (pivoting fastening points) screwed onto the back of the support, allowing for photo changes without disassembling the frame. They can be found at hardware stores for a few cents each.
- Gummed kraft tape glued around the entire back perimeter, a technique used in professional framing to seal the back. Less practical for changing the print, but visually cleaner.
- A simple cardboard cut to size, held in place by four small headless nails driven into the support. The quickest solution, suitable for younger ones who want to see the result quickly.
Finishes and Protection for Driftwood: Varnish, Wax, or Nothing
Untreated driftwood grays and loses its nuances within a few months if exposed to direct light. Therefore, the question of finishing arises as soon as the frame is designed.
A water-based polyurethane marine varnish effectively protects without yellowing. Apply a thin layer with a flat brush, let it dry, lightly sand with 220-grit, then apply a second coat. This two-coat protocol is sufficient for indoor use.
Beeswax is a more natural alternative, appreciated when working with children. It nourishes the wood, gives it a slight sheen, and emits a pleasant scent. However, wax offers no protection against UV rays: it should be reserved for frames hung away from direct light.
The third option, often the best for a raw finish: apply nothing. Driftwood has already endured months of exposure to the elements. Its patinated appearance is part of its charm. If the frame is intended for an interior wall without direct sunlight, the natural finish holds up very well over time.
Collecting Driftwood as a Family: What the Regulations Allow
Driftwood washed up on French beaches can be collected freely for personal use. Article L.321-8 of the Environmental Code regulates extractions from the public maritime domain, but primarily targets sand, pebbles, and certain shells, with possible fines for violations.
This distinction should be integrated into the family activity. On the beaches, coastal guards now directly inform families: only empty shells, in small quantities, can be collected, and sand and pebbles are strictly prohibited from being collected.
For a vacation memory frame, this opens a concrete educational angle: explaining to children the difference between driftwood (allowed) and other coastal materials (restricted or prohibited). The recent trend towards stricter collection rules on the French coastline, including for fossils, confirms the importance of this discussion before collecting.
Sorting and Selection On-Site
Prefer pieces with a diameter no larger than that of a thumb for a classic photo frame. Thicker branches are suitable for large wall formats but complicate assembly. Check for the absence of black mold by breaking the end: healthy wood shows a clear, dry core.
A successful driftwood frame relies less on the quantity of material than on the coherence of the chosen pieces. Three or four well-matched branches in color and size will yield a more refined result than a haphazard accumulation. Sorting on the beach, as a family, is an integral part of the creative project.